HOW TO CREATE A MOSS BASE

Welcome to this new exclusive content for our website! We open with a tutorial in which you will learn how to create a “moss” base for your figures and dioramas, perfect to improve the scenery of your modeling projects.
Follow our detailed steps and discover how easy it is to transform a simple base into a mossy terrain, bringing texture and depth to your scenes. Let’s get started!

Steps 1 and 2:
Our wooden base is ready to start. In this case, we will use a round base with a diameter of 70 mm and a height of 60 mm. Choosing and adapting our base to the figures is crucial to obtain a good final result.
The selection of the size and shape of the base depends, to a large extent, on the idea of the project we want to represent and how we want to present it in the best possible way. For example, on some occasions, a square base will be more suitable for highlighting a main front view, while on other occasions, a round base will be better for showing the figure from all angles.
Once we have the base ready, we proceed to mask the lateral surface to protect it from possible damage. This is done with masking tape, which can be easily found at any hardware or paint store.
We glue the rock belonging to the base of our miniature using glue. In this case we are going to use the rock that accompanies our “Corwin” figure.
At Akelarre Models, we offer a wide selection of wooden bases for your projects. If you have any doubts about which is the most suitable for each figure, do not hesitate to write to us and ask us.
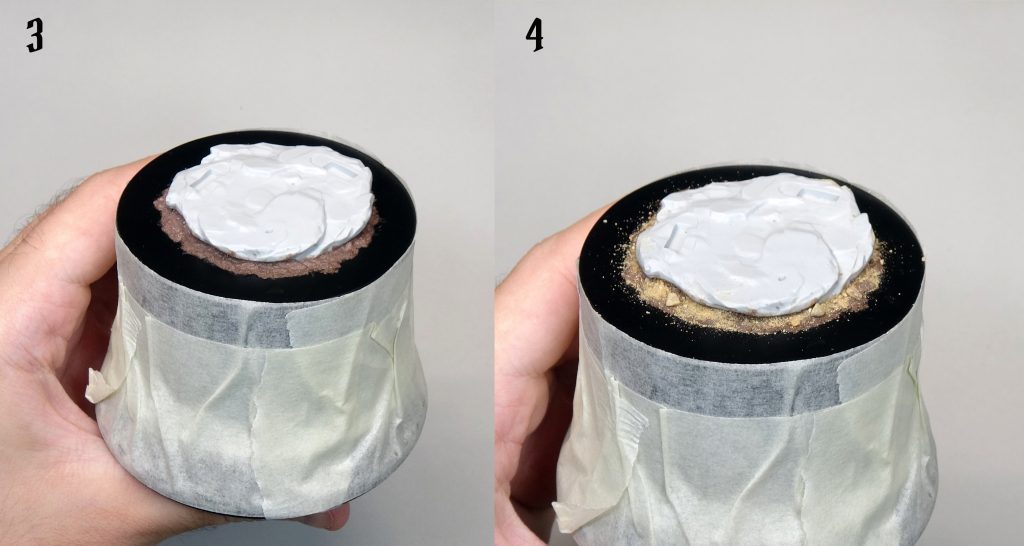
Step 3:
We add terrain paste around our rock, without completely covering the entire surface of the wooden base. These pastes represent different finishes, such as dry and arid soils, mud, rocky soils, among others. You can find a wide selection in modeling brands such as AK Interactive or Ammo Mig. They are very easy to apply and harden in a couple of hours.
Step 4:
Before the terrain paste hardens, we add natural sand and small rocks to create a more realistic terrain. By doing this before the paste dries, it acts as a glue, sealing the sand and rocks to the ground when it dries completely.

Step 5:
Once the ground paste has dried completely, we remove the excess sand and clean the surface of the wooden base.
Step 6:
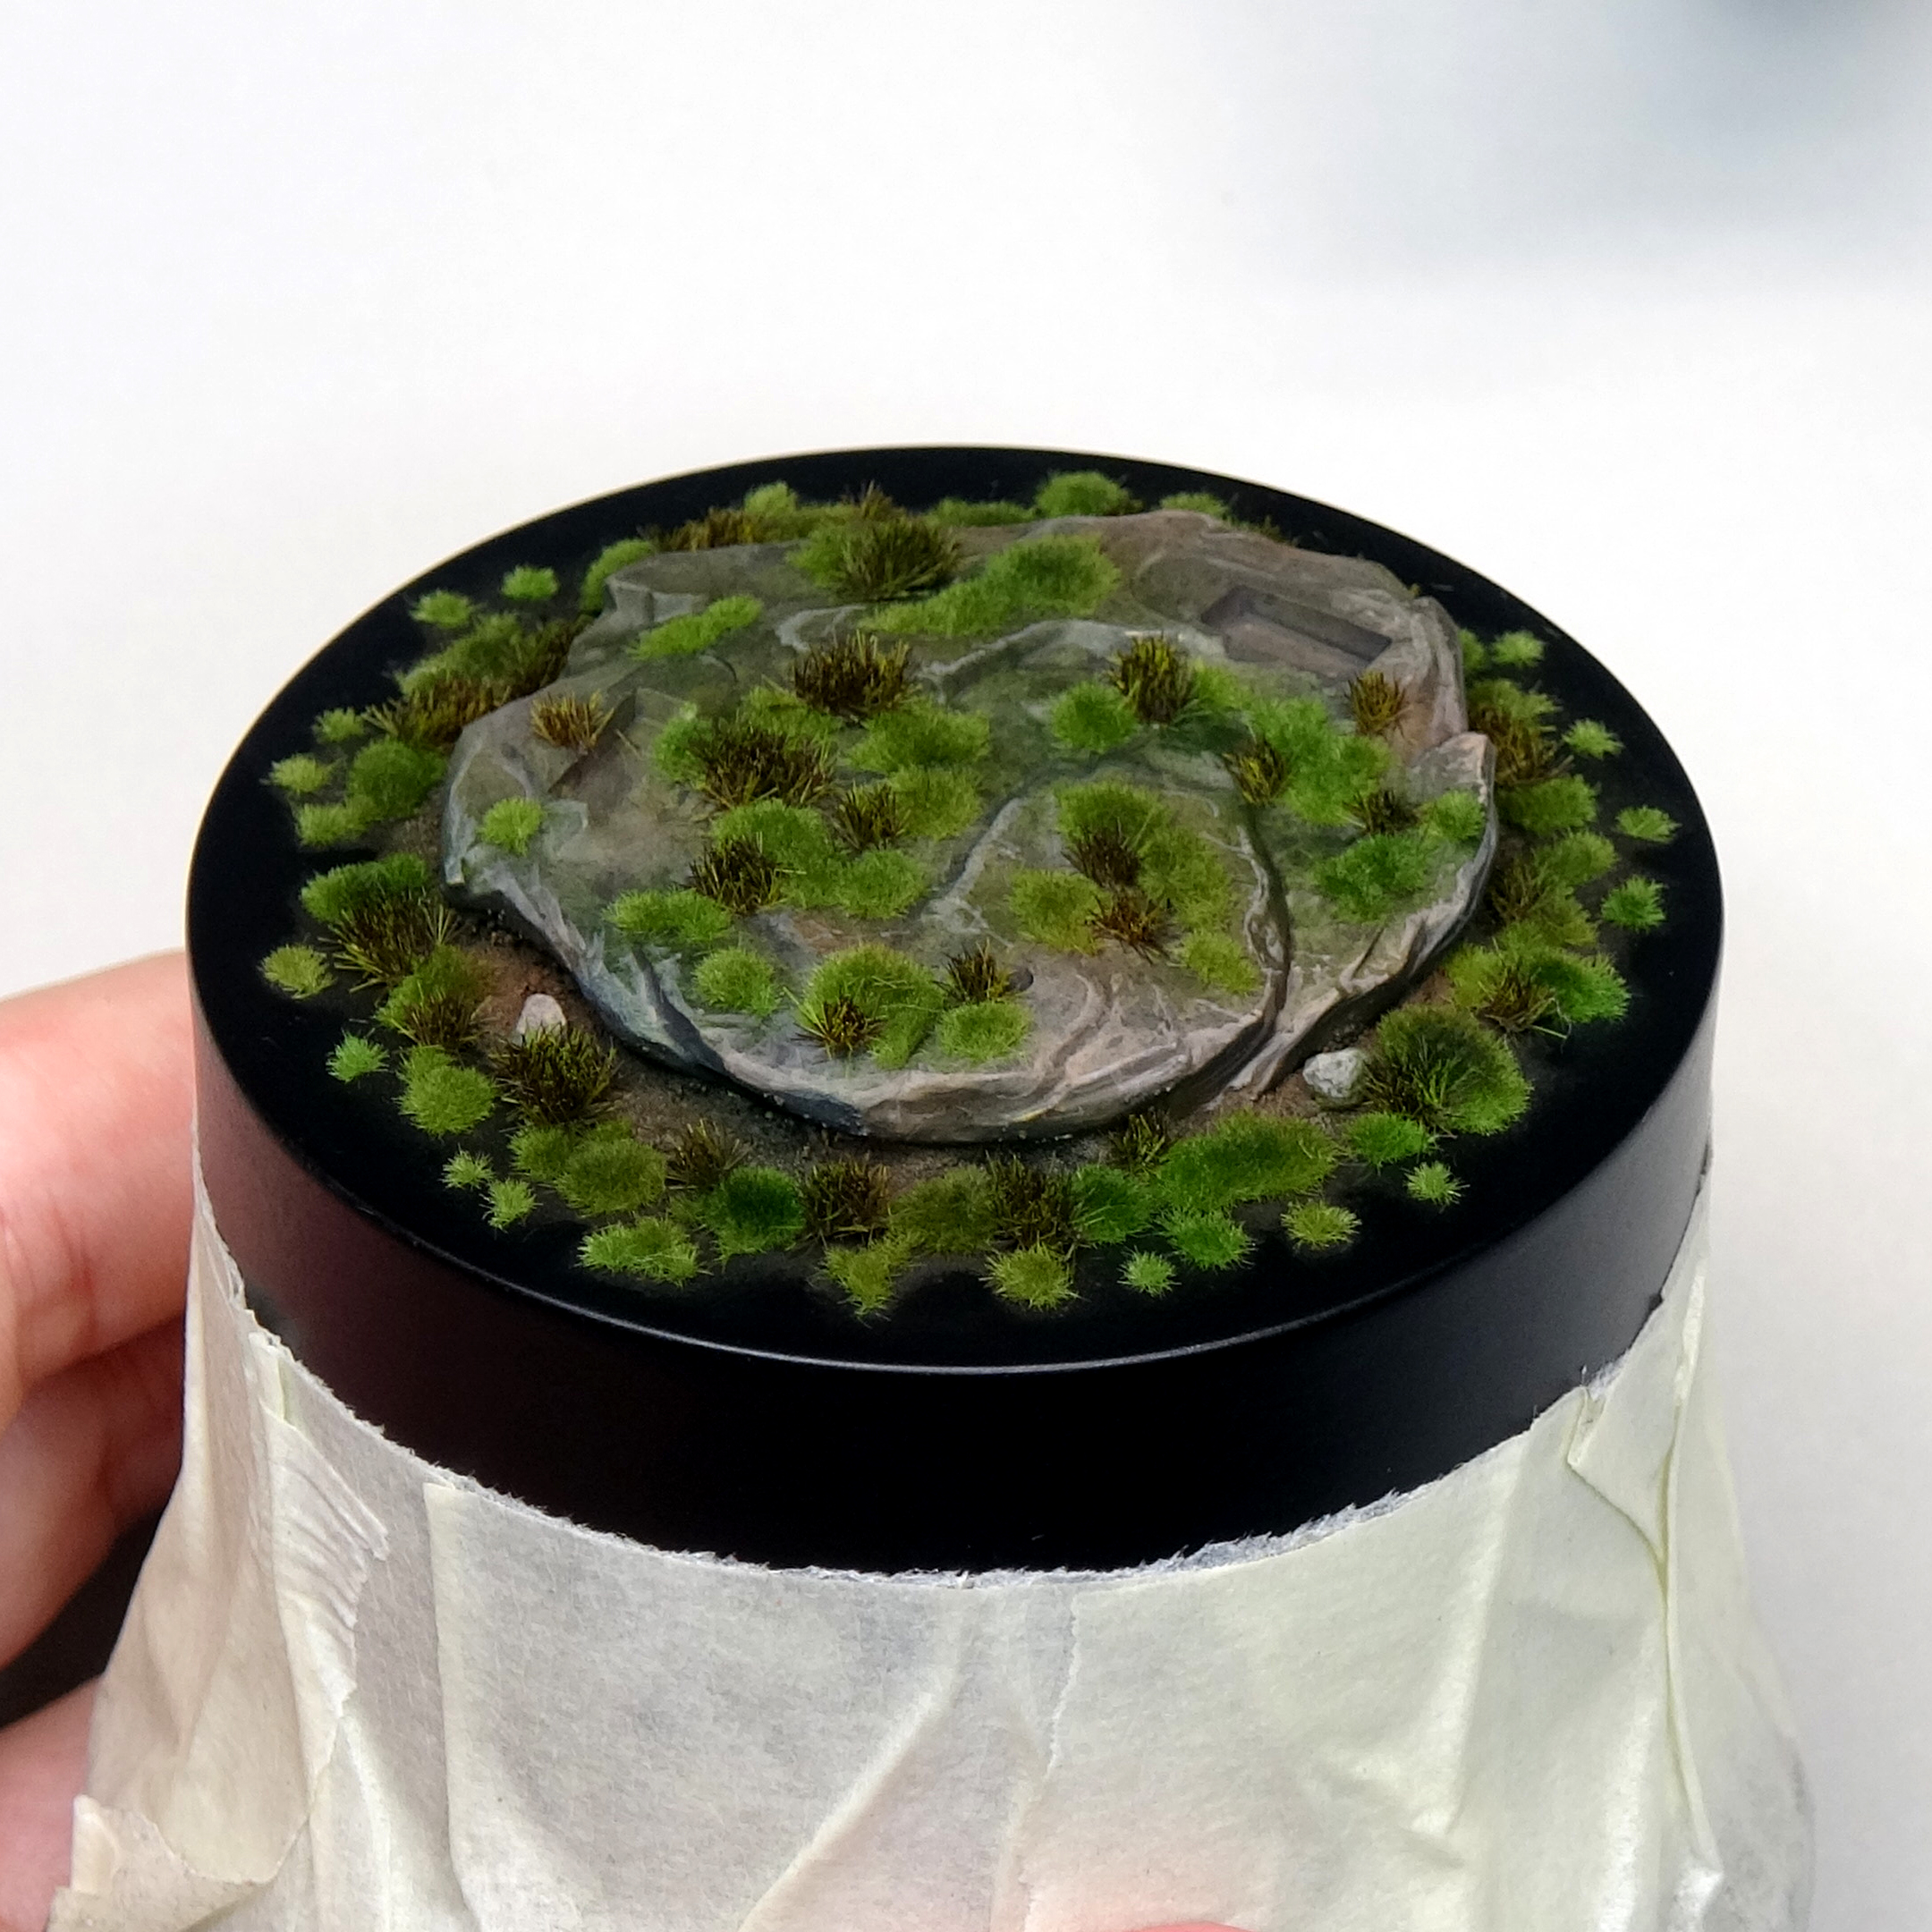
Our base is ready to start painting, from here you can continue with the tutorial in the video below.
Once the video is finished, here is a picture of our finished base, ready to add the figure. I decided to create this little tutorial because many of you showed interest when you saw the final photos of our last release, “Corwin”. By replicating another base, I was able to show you the whole process, and as you may have seen, it’s really simple!

We hope you liked it and, above all, that it will be of interest to you. Do not hesitate to leave us a
comment because, if you like this kind of exclusive content for the web, we will bring much more on a regular basis.
Greetings!
David Arroba.